Here’s what I think… Estate cleanouts are one of those things nobody really prepares you for.
You think, “Okay, we’ll go through the house, pack a few things, toss the rest.”
You won’t believe this, but it’s never that simple. Ever.
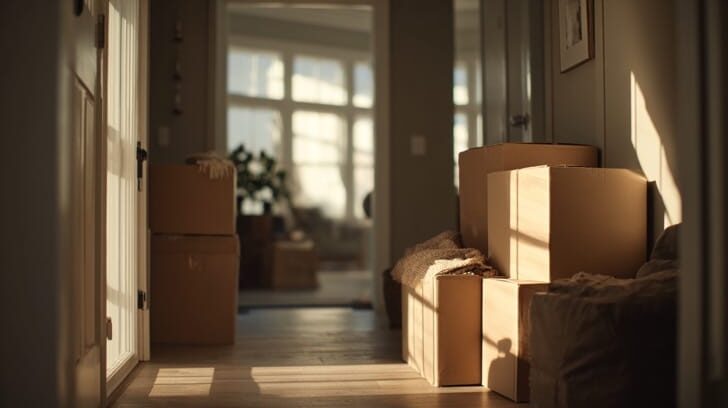
Suddenly you’re knee-deep in old paperwork, half-used kitchen gadgets, and boxes you’re scared to open because… emotions. And somehow, everything feels important. Or at least important enough to slow you way down.
So let’s walk through this together. Slowly. Gently. Without pretending this is just another to-do list.
First Things First: Who This Is Actually For
If you’re:
- A family member helping clean out a loved one’s home
- Or an estate manager/executor trying to do right by everyone involved
…this guide is for you.
And if you’re feeling overwhelmed already? Totally normal. Right?
Why Estate Cleanouts Feel So Heavy (Even Before You Start)
Well… because they are heavy.
This isn’t like cleaning out a storage unit. Every room has memories baked into it. Smells. Sounds. Little reminders that hit when you’re not ready.
And on top of that?
- You’re worried about throwing away something important
- Family members might disagree on what stays and what goes
- There’s often a deadline looming
- And you’re exhausted before you even begin
Sound familiar?
Here’s the thing most people don’t say out loud:
You’re not supposed to do this alone.
Let’s Reframe the Whole Thing (This Helps a Lot)
Instead of thinking:
“We need to get rid of all this stuff.”
Try this:
“We’re sorting through a life… carefully.”
That shift alone changes how everything feels.
So don’t rush. Don’t pressure yourself to be “strong.” And don’t assume you need to personally handle every single piece of this process.
Anyway… let’s get practical.
Step 1: Pause Before You Touch Anything
I know. The instinct is to jump right in and start clearing rooms. But hang on.
Before opening drawers or closets, do this instead:
Have a Quick Game Plan
Nothing fancy.
- Who makes final decisions?
- Who needs to be consulted?
- What’s the rough timeline?
This avoids a lot of tension later. Trust me.
Grab a Few Supplies
You’ll want:
- Boxes or bins
- Trash bags
- Sticky notes and a marker
- Gloves (for… reasons)
Simple stuff. No need to overthink it.
Step 2: Sort First, Decide Later (This Is Key)
Here’s what I’ve seen happen way too often: people try to emotionally decide on every item in real time.
That’s exhausting.
So instead, just sort. Don’t judge. Don’t analyze.
Use These Four Buckets:
- Keep – family items, heirlooms, essentials
- Donate – still useful, still in good shape
- Sell or Salvage – items with real value
- Junk – broken, expired, unsafe, or unusable
You’re not deciding their final fate yet. You’re just giving each item a lane. That’s it.
Feels easier already… right?
Step 3: The Donation Part (Honestly, This Feels Good)
Donating is usually the part people feel best about. There’s something comforting about knowing items will be used again instead of tossed.
Common Donation-Friendly Items:
- Furniture that’s still solid
- Clothing that’s clean and wearable
- Kitchenware
- Books
- Linens
- Small appliances that actually work
Where Donations Often Go:
- Local charities
- Thrift stores
- Shelters
- Churches
- Veteran organizations
Quick tip: take photos and save receipts. It helps with estate records and taxes later.
Step 4: Salvage & Value Recovery (No, It’s Not Greedy)
This part sometimes feels awkward. Like, “Should we really sell this?”
Short answer? Yes. If it makes sense.
Salvage isn’t about squeezing every dollar out of the estate. It’s about being responsible.
Items Worth a Second Look:
- Antiques
- Jewelry and watches
- Artwork
- Collectibles
- Tools
- Vehicles
- Newer electronics
If you’re unsure, get a professional opinion. Guessing leads to regret. And nobody wants that.
Step 5: Stop Everything for Important Papers
Seriously. When you see paperwork… pause.
Set These Aside Immediately:
- Legal documents
- Birth certificates
- Military records
- Financial statements
- Property deeds
- Photos and letters
- USB drives and hard drives
Put them in one secure box. Label it clearly. This is not the stuff you want mixed in with donation bags.
Step 6: The Leftovers (AKA the Part Everyone Dreads)
Eventually, you hit this stage.
Broken furniture. Old mattresses. Random junk. Stuff nobody wants but nobody has the energy to deal with.
This is where people burn out.
And this is exactly why estate junk removal services exist.
At Your Junk Hero, this is what we do every day:
- Heavy lifting? Covered.
- Tight timelines? No problem.
- Emotional situations? We get it.
You point. We remove. Respectfully. Efficiently. No judgment.
And honestly? This step alone brings massive relief.
Step 7: The Final Walkthrough (This Matters More Than You Think)
Before closing the door for good:
- Check closets and drawers one last time
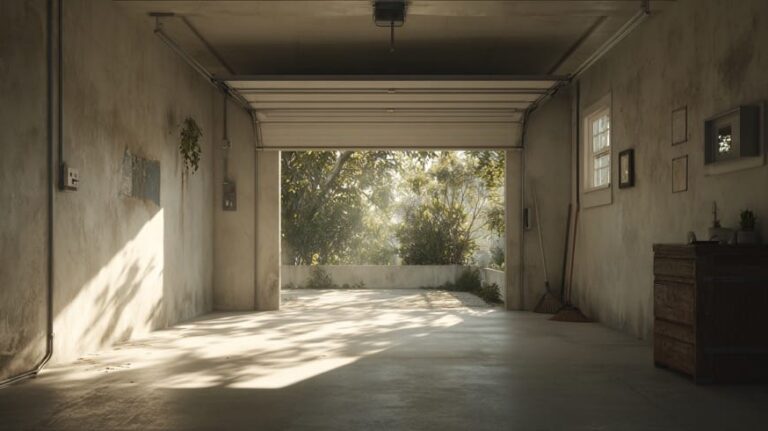
- Look in garages, attics, sheds
- Confirm donations are handled
- Remove remaining trash
- Secure keys
This moment is quiet. And important. Let yourself feel it.
So… What’s the Big Takeaway Here?
Estate cleanouts aren’t just physical work.
They’re emotional. They’re complicated. And they’re way harder when you try to do everything yourself.
Here’s what I really want you to hear:
There is no “right” speed.
There is no perfect system.
And there is zero shame in getting help.
Right?
If You Need Backup, We’ve Got You
If you’re staring at a house—or even just one room—and thinking, “I can’t do this alone,” that’s where Your Junk Hero comes in.
We help families and estate managers:
- Clear properties with care
- Reduce stress
- Handle junk responsibly
- Move forward without overwhelm
👉 Reach out when you’re ready. No pressure. No rush.
And hey… if this process feels heavier than you expected? You’re not imagining it. You’re doing your best. And that counts for a lot.
What do you think—feeling a little less stuck now?