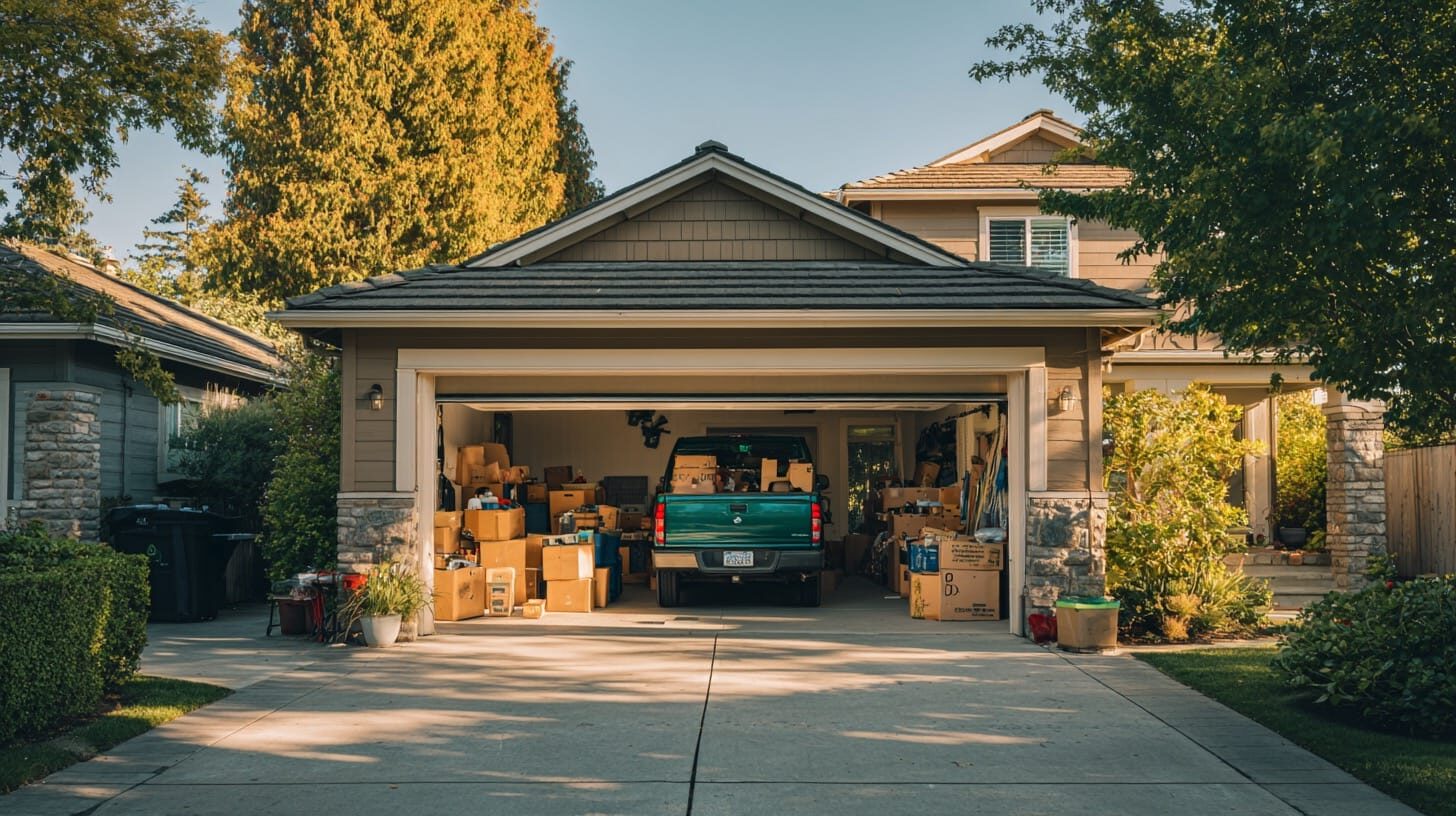
Moving is the perfect excuse to lighten your load. Nothing kills momentum like wrapping, boxing, and hauling stuff you don’t even want in your next place. The good news? With a smart plan—and a clear moving cleanout checklist—you can declutter quickly, responsibly, and (dare we say) enjoyably. This guide walks you through what to purge, how to sort it, and when to call in junk removal before moving so the whole process is faster, cheaper, and way less stressful.
Why Decluttering Before a Move Matters (and Pays Off)
Every item you keep costs time to pack, space on the truck, and money to move. Cutting the clutter up front saves on boxes, bubble wrap, and billable hours—plus you’ll spend less time unpacking “mystery” bins at the new place. Many high-performing moving checklists emphasize starting early and approaching the purge room by room so it’s not overwhelming. Think of it like project management: small sprints, big payoff.
There’s also a safety angle. A surprising number of household items can’t go on moving trucks (more on that below), so you’ll need a plan for disposal or donation anyway. Knowing those non-allowables now keeps you from scrambling on moving day.
The Ultimate Moving Cleanout Checklist (Room by Room)
You don’t need to reinvent the wheel—use a proven structure. Below is a simple, scannable moving cleanout checklistthat aligns with what top moving resources recommend: decide room by room, then act fast.
Kitchen
- Expired/duplicate pantry goods and spice duplicates.
- Old mugs and containers (match lids; recycle or toss the rest).
- Gadget graveyard (appliances you haven’t used in 6+ months).
- Warped cutting boards and damaged nonstick pans.
Living & Family Rooms
- Outdated electronics (e-waste or specialty recycling).
- Furniture that won’t fit your new layout.
- Decor you’ve outgrown and duplicate throw pillows/blankets.
Bedrooms & Closets
- Clothes that don’t fit or you haven’t worn in a year.
- Lone/mismatched socks and tired hangers—streamline with uniform ones.
- Extra bedding beyond two sets per bed.
- Appliance/tech boxes you’re keeping “just in case.”
Bathrooms
- Expired makeup/meds, old towels, and duplicate hair tools.
- Nail polish remover, aerosols, and cleaners—note: many are hazardous for moving trucks; sort for safe disposal.
Home Office
- Old paperwork (scan, then shred), dead pens, duplicate cables.
- Aged printers or monitors—recycle responsibly.
Kids’ Rooms & Play Areas
- Outgrown toys and clothes (donate or sell sets).
- Bulky items (playhouses, swings) you don’t want to reassemble.
Laundry, Garage, Basement, Attic
- Paint, solvents, propane, fertilizers, pesticides—these are non-allowables for movers; plan a hazardous-waste drop-off.
- Old tools and broken gear, extra holiday décor you don’t love.
- Gym equipment you don’t use—rehome or sell locally.
Pro tip: Stand in each room and label four zones (Keep, Donate, Sell, Toss). Move quickly; if you hesitate, it probably doesn’t need to make the trip. Many organizers recommend simple three-bin or four-pile systems to prevent decision fatigue.
The Sorting System That Actually Works: Keep, Donate, Sell, Recycle/Toss
When every decision has a home, you stop doom-scrolling through indecision.
Keep
- Items you use often, love, and that fit the new space.
- Anything expensive or hard to replace—and realistically used.
Donate
- Gently used clothing, linens, household goods, small furniture.
- Choose charities or local shelters that accept what you have; not everything should be donated (e.g., torn or stained items).
Sell
- Sets, pairs, and mid/high-value items do best (furniture, branded gear).
- List early—at least 4–6 weeks pre-move—so you’re not bargaining from the driveway on moving day. Community advice and moving blogs consistently note that donating is faster but selling can offset costs.
Recycle/Toss
- Broken or unsafe items, outdated tech, and items with no second life.
- E-waste and hazardous household materials require special handling (see next section).
Speed rule: Consider the “20/20 rule” popular in decluttering circles—if it costs <$20 or takes <20 minutes to replace, let it go. It keeps momentum up during moving season.
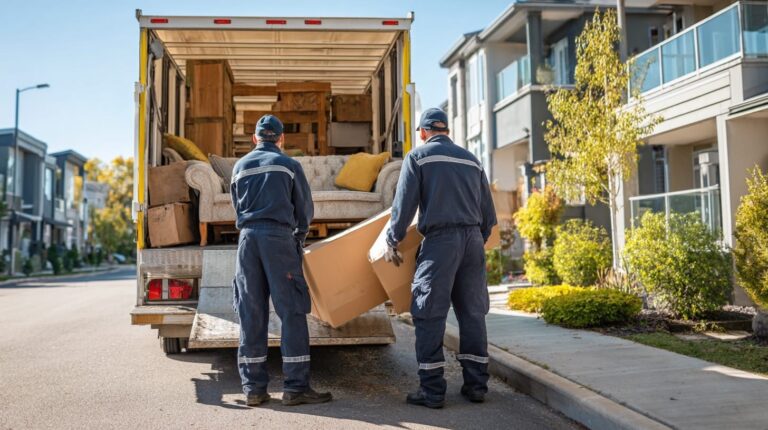
Junk Removal When Moving: What to Do With the Rest
Even after you donate and sell, there’s always a stubborn pile left. That’s where junk removal when moving shines.
When to Call Professional Junk Removal
- Big & bulky: couches, old mattresses, broken appliances.
- Heavy or awkward: exercise equipment, armoires, pianos (ask first).
- Non-allowables for movers: paints, chemicals, aerosol cans, and other hazardous items (junk haulers may guide you to proper disposal or offer specialty service tiers).
Why It’s Worth It
- One-and-done convenience: skip multiple dump runs; timing is fast, which matters when you’re juggling closing dates and truck schedules.
- Responsible disposal: reputable companies prioritize recycling and donation before landfill.
- Lower moving bill: fewer cubic feet on the truck, fewer hours to load/unload. Many moving resources recommend decluttering and junk removal as step one—before you buy a single box.
Dumpster option: If you’re tackling a whole-house purge or renovation debris at the same time, a short-term dumpster rental can be cost-effective and deadline-friendly. Pair it with a donation pickup for the good stuff.
What Movers Won’t Move (and How to Handle It)
Movers have a “non-allowables” list designed to protect people, property, and equipment. Expect restrictions on:
- Hazardous materials: paints, thinners, propane tanks, fire extinguishers, aerosols, nail polish remover, fertilizers, pesticides.
- Perishables & plants: food that can spoil and certain live plants (varies by company and distance).
- Irreplaceables: many movers advise you to self-transport jewelry, cash, and sensitive documents.
What to do instead:
- Deliver hazardous items to your county’s household hazardous waste facility or scheduled drop-offs.
- Check labels for disposal instructions (batteries, smoke detectors, pesticides).
- Ask your junk removal company for guidance—they’ll often provide safe-disposal options or local resources.
A 4-Week Timeline to Lighten Your Load (Without the Panic)
Week 1: Plan & Prep
- Book donation pickups and/or junk removal for Week 2–3.
- Gather boxes, tape, markers, and a few large contractor bags.
- Walk the home and mark bulky items to sell, donate, or remove (so you’re not carrying them back and forth).
Week 2: Bedrooms, Closets, Décor
- Apply the one-year clothing rule and the “two sets of sheets” guideline.
- Photograph sentimental items you don’t want to keep; keep the memory, not the dust. (Organizers note this helps with inherited or keepsake clutter.)
Week 3: Kitchen, Living Room, Office
- Empty duplicates and expired items; prep e-waste.
- Shred/scan paperwork and streamline cables.
Week 4: Garage, Laundry, Hazmat
- Pull all non-allowables and take them to the hazardous-waste facility or schedule appropriate pickup.
- Final junk removal sweep for bulky leftovers.
Fast-Track Strategies the Pros Use
- Zone fast, decide once. Use four labeled piles and set a 20-minute timer per zone. Decision speed beats perfection.
- Stage a “load-out room.” Treat one room like the truck: stack only what’s going in there; everything else must be donated, sold, or removed. (A common community hack for minimizing backsliding.)
- Sell smarter. Prioritize pieces with market demand (sets, solid wood, branded gear). Price to move and schedule one pickup window to avoid a drip-drip of meetups.
- Donate faster. If you’re short on time, donation wins. Many groups offer pickup; check their acceptance lists to avoid curb-side rejections.
- Align with your floor plan. If it won’t fit (or fit your style) in the new home, it doesn’t get a box. This mindset is a fixture of high-ranking declutter guides because it keeps decisions grounded in your future, not your past.
Eco-Friendly Moves: How to Declutter Without the Guilt
A lot of what you’re purging has life left in it. Aim to donate first, recycle second, dispose last. Many moving and sustainability guides point out that fewer possessions reduce waste and simplify your routines—decluttering can actually shrink your footprint.
Ideas that help:
- Local shelters & mutual-aid groups for bedding, small appliances, and kids’ items.
- Specialty recyclers for e-waste and scrap metal.
- Packaging consolidation: break down extra appliance/tech boxes instead of moving them “just in case.”
After the Move: Keep the Clutter From Creeping Back
You’ve done the hard part—protect the win.
- Unpack essentials only in week one; store the rest in a staging area and “earn” cabinet space by actually needing items.
- Adopt a one-in/one-out policy for clothes, kitchenware, and décor.
- Quarterly tune-ups: schedule 60-minute mini cleanouts per season—use the same four-pile system.
- Remember junk removal isn’t just for moving—it’s your reset button after renovations, seasonal cleanups, or lifestyle changes.
Putting It All Together
A smoother move boils down to three things:
- Start early with a clear moving cleanout checklist.
- Sort fast with Keep/Donate/Sell/Recycle piles—and know what movers won’t touch.
- Use junk removal before moving to clear the last 10–20% that slows everything down.
Do that, and you’ll spend less, stress less, and step into your new place with only what you truly want.
Ready to Ditch the Extras Before You Pack?
If you want the convenience of a one-and-done solution—furniture, appliances, boxes, yard waste, and tricky items handled responsibly—book a junk removal pickup today. We’ll donate and recycle whenever possible and clear your space on your timeline so you can focus on the move, not the mess.