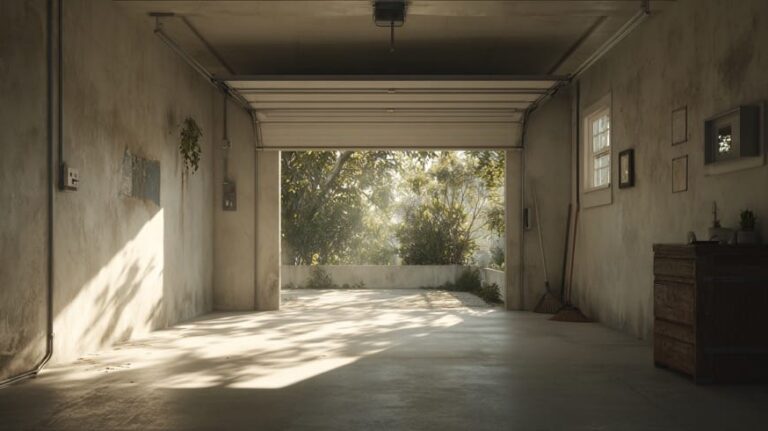
When tenants move out—whether planned or unexpected—the first step is usually a cleanout. Old furniture, trash, and personal belongings get hauled away, leaving you with an empty unit. But cleanout alone doesn’t make your property tenant-ready.
The real difference comes from post-cleanout property prep. By handling repairs, deep cleaning, safety checks, and a few smart upgrades, you can transform a recently vacated space into a polished rental that attracts quality tenants faster.
Here’s your 10-step guide to effective post-cleanout property prep.
1. Inspect the Property After Cleanout
Walk through each room with a critical eye. Take photos, notes, and document issues like wall damage, floor stains, mold, broken fixtures, or signs of pests. A solid inspection sets the foundation for your prep work.
2. Complete Essential Repairs
During post-cleanout property prep, prioritize safety and functionality:
- Fix loose railings, faulty detectors, or electrical hazards
- Repair leaky faucets and damaged cabinetry
- Address cosmetic details like squeaky doors or broken blinds
Even small fixes improve tenant impressions.
3. Deep Clean Every Surface
A light wipe-down isn’t enough. Deep cleaning is key to fast rentals. Scrub walls, sanitize bathrooms, clean appliances, shampoo carpets, and wash windows. Hiring a professional crew ensures a spotless finish.
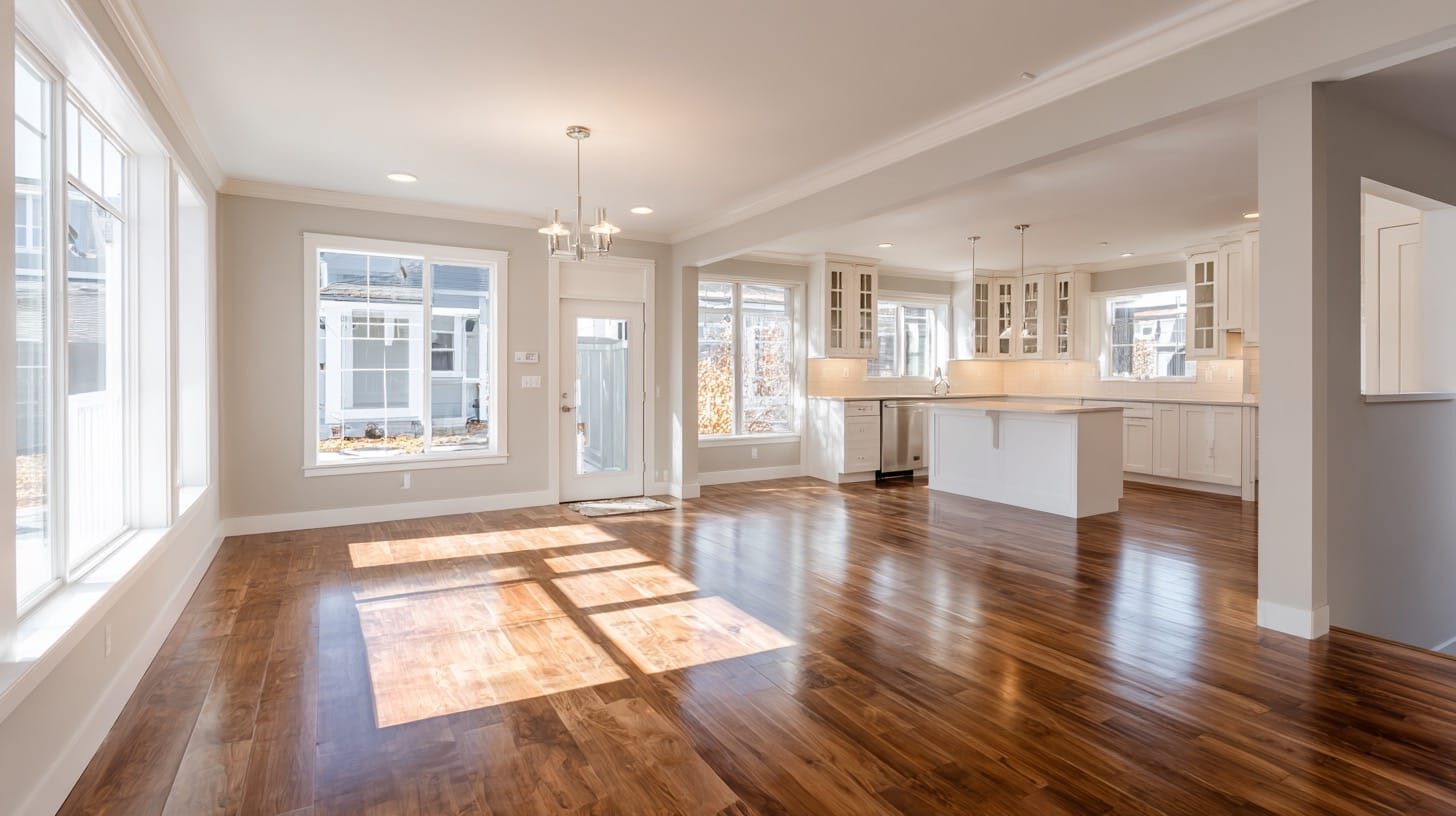
4. Refresh the Interiors
A fresh coat of neutral paint makes spaces feel brighter and larger. Upgrade light fixtures, replace cabinet hardware, and refinish floors or swap stained carpets. These affordable updates instantly modernize the unit.
5. Boost Curb Appeal
Post-cleanout property prep isn’t just inside—first impressions start at the curb. Mow lawns, trim shrubs, power wash siding, and refresh the front door. Attractive exteriors make your listing photos shine.
6. Check Safety & Compliance
Before leasing, confirm your rental meets housing codes:
- Test smoke and CO2 detectors
- Ensure locks, windows, and doors function properly
- Install GFCI outlets near sinks
- Verify fire extinguishers if required
This step protects both you and your tenants.
7. Update Security
Change locks, add deadbolts, or install smart locks and motion lights. Security upgrades reassure new tenants and make your property more appealing.
8. Test Utilities & Appliances
Run appliances, check outlets, test HVAC, flush toilets, and inspect water pressure. Catching issues now avoids tenant complaints later.
9. Stage or Prep for Photos
A clean, functional home deserves great presentation. Open blinds for natural light, add small décor touches, and take wide-angle listing photos. High-quality visuals attract more renters online.
10. Do a Final Walkthrough
Use a checklist to confirm all outlets, lights, detectors, and finishes are in working order. A final walkthrough ensures nothing was overlooked before showings.
Have a property that was trashed by the previous tenant? Read this article for tips and suggestions on cleaning up those types of properties.
Why Post-Cleanout Property Prep Matters
Post-cleanout property prep may feel like extra work, but it reduces vacancy time, increases rental value, and attracts tenants who care for the property. A well-prepared rental benefits both landlords and renters.
Need help with the first step? If your unit still needs junk removal before you begin, Your Junk Hero can handle the cleanout quickly and affordably. That way, you can focus on prepping your property for new tenants.
Book a cleanout or pickup today and take the first step toward a tenant-ready home.